A Second Life Tutorial by Robin (Sojourner) Wood. All rights reserved.
(Copying these pages and selling them as-in in Second Life, in any format whatsoever, is specifically prohibited.)
In Second Life, we upload Targa (.tga) files to use as textures.
Targa files don't support layers; but they do support a single Alpha Channel, which shows as transparency in Second Life. Areas that are white in the Alpha Channel are opaque in SL. Areas that are black are completely transparent. Areas that are shades of gray are partially transparent, depending on how light the shade.
This tutorial assumes that you are working with layers on a transparent background. In other words, this will only work if you have already extracted the image, and there is no background left. If you have a background, you need to extract the picture you want to bring into SL first.There are dozens of ways to do that, and I haven't written a tutoral about it yet. Please Search the web, using the keywords Extract Photoshop and Tutorial to find one.
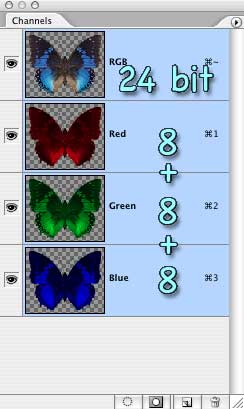
Targa files that have no Alpha Channel are 24 bit files. (8 bits each for the Red, Green, and Blue channels. 8x3=24)
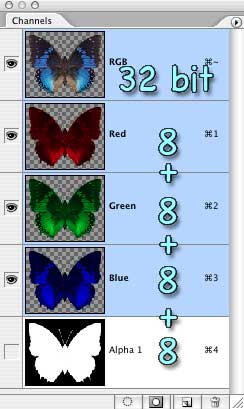
Targa files that have an alpha are 32 bits (8 bits more, for the additional channel. 8x4=32
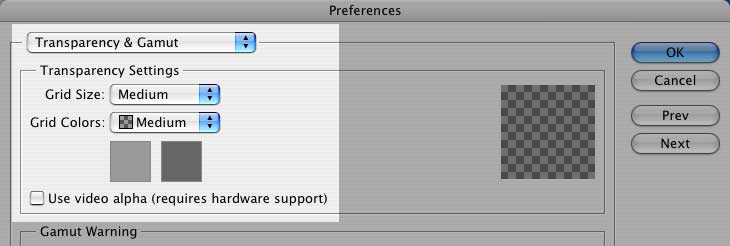
In Adobe Photoshop, it's very simple to make the Alpha Channel. All you need to do is paint the image you want, using transparency where you want it. Transparent areas will show a checkerboard behind them. (You can change the checkerboard in Preferences > Transparency & Gamut. Tap Command/ctrl K to open the Preferences dialog.)
You can edit Alpha Channels manually in Photoshop (although not in Photoshop Elements,) and you might want to do that sometimes. But it's usually not necessary.
1. Make a copy of the file (so you can keep your layered original.) Click the "Create New Document from Current State" button in the History Palette to do this.

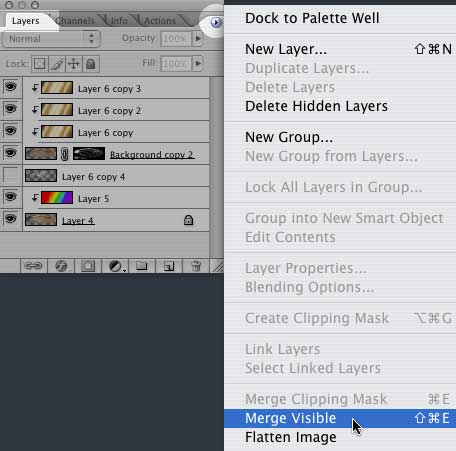
2. Merge the Visible Layers (Shift Command/ctrl E or use the Layer Palette Menu.) Obviously, if you only have a single layer in your document, you can skip this step.
3. Hold down Command/ctrl and click the thumbnail image in the Layers Palette to select the Pixels on that layer.
![]()
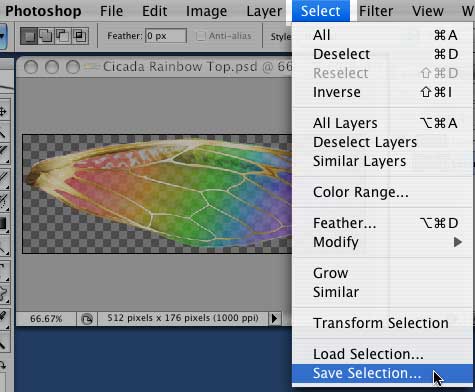
4. Go to Select > Save Selection.
5. Select the defaults, and you have a perfect Alpha channel, white where you had opacity, black where you had transparency, and gray for partial transparency.
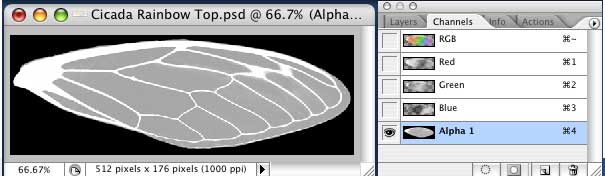
But, if you upload this image into SL, you'll notice what we call the dreaded White Halo. If you have semi-transparent areas, you'll also notice that they appear washed out. The higher the transparency, the lighter they will be.

Click here to go to the next page, and see how to fix the problem.
If you would like to see the other tutorials in this series, click here.
Everything on this site is copyright © Robin Wood; all rights reserved. Feel free to link to these pages, print them out for yourself, and use them yourself to create content for Second Life without restrictions. However, you may not distribute them in any way, (post them on your site, put them on a CD, use printed copies as handouts in a class, make books out of them to sell in SL, etc.) without permission. To get permission, write to Robin, and explain what you intend to use it for.