A Second Life Tutorial by Robin (Sojourner) Wood. All rights reserved.
(Copying these pages and selling them as-in in Second Life, in any format whatsoever, is specifically prohibited.)
I've been teaching people how to make Alpha Channels for use in Second Life for a number of years now, and I've come to the conclusion that the main reason that people think they are "hard" is that they have no idea what an Alpha Channel is, mostly because they have no idea what a channel is.
This tutorial will fill in that gap. After taking it, you'll understand what a Channel is, and, I think, all the stuff about Alpha Channels which has seemed so esoteric will suddenly be crystal clear.
The screen shots and directions are all from Photoshop CS3, on a Macintosh platform. But Channels are Channels, no matter what platform or application you are using, and you should be able to do these exercises in any application that allows you to manipulate the Channels directly. (That leaves out Photoshop Elements, sadly, but you can still learn (I think) from looking at the illustrations in this tutorial.)
It's important that you read all the words; don't just look at the pictures. Some of the concepts here won't be found in the pictures alone, and you'll miss a lot if you don't read it, too.
Shall we begin?
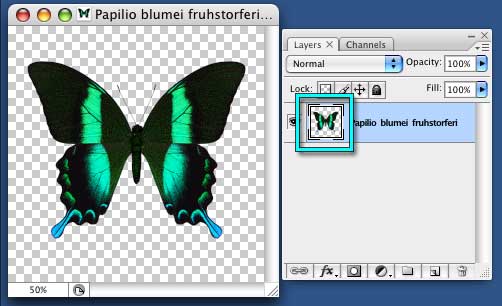
First, let's look at what an Alpha Channel isn't. It's not this. This is Layer Transparency. You can use it to make an Alpha, but it's not one by itself, and it won't translate to one in SL.
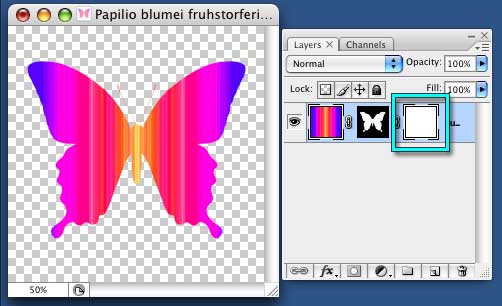
It isn't this. This is a Layer Mask. It drives transparency on the layer that it's attached to, and that's all it does. It doesn't affect Second Life at all.

It's also not this. This is a Vector Mask, also applied to a Layer. You might never have seen one of these, because they are kind of advanced; and that's okay. But just in case you accidentally made one, it's not an Alpha Channel.
An Alpha Channel is a Channel, and that means that you will never find it anywhere in the Layers Palette. You will only see it if you look in the Channels Palette.
In the Default layout, the Channels palette is tucked under the Layers Palette.
Find it, and open it now.
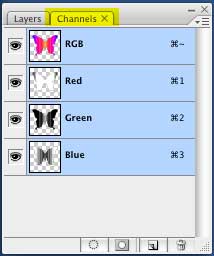
For a new document, you'll see a color thumbnail at the top, named "RGB", and three grayscale thumbnails below that, called "Red," "Green" and "Blue" respectively. (If your thumbnails aren't grayscale, you need to go to Preferences > Interface and uncheck "Show Channels in Color." They need to be grayscale for these lessons.)
The RGB slot isn't really a channel itself; it's a composite of the Red, Green, and Blue channels below it.
"But," you may ask, "what's the difference between this and the Layers Palette? They look a lot alike."
Yes, they do. But the difference is that the Layers Palette allows you to put multicolored pixels on transparent layers, and build up your image as if you were painting on sheets of clear plastic laid one on top of the other.
The Channels, on the other hand, are grayscale representations of the amount of - something - that is in each pixel of your image. If you're familiar with traditional printing, you can think of them as being like the color plates that determine how much ink is applied to the paper.
The first three channels are the three primary colors of light; Red, Green and Blue. For these channels, that - something - is the amount of that primary color that's applied to each pixel. (If you're used to working with pigments, you might think of the primary colors as Cyan, Magenta, and Yellow. But on the computer screen, we are, literally, painting with light. So we use the primary colors of light.)
In a normal, 8-bit RGB image, that grayscale ranges from 0 to 255, giving you 256 possible intensities of each primary color of light for each pixel in your image.
Let's play around with that a little, so you can really understand it.
In Photoshop, open a New image. It doesn't need to be very large. I've made mine 256x256 pixels, but you can make yours whatever size you like.
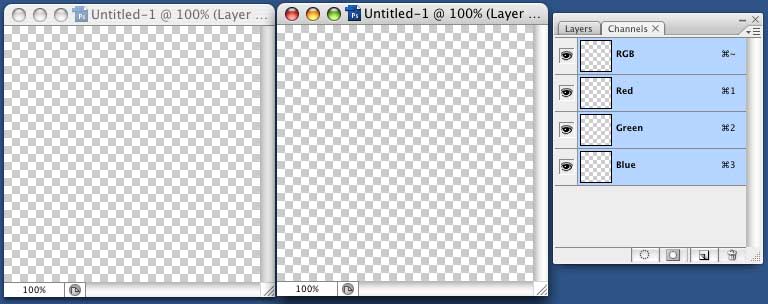
Go to the Window palette, to Arrange, and choose "New Window for (your image name, probably Untitled 1)" to open two windows, so you can see what's happening while you play.

Move the new window out to the side, so you can see them both at once.
Tap D on your keyboard, to change the Color Swatches to the default, pure white and black.
![]()
Click on the window to the left, and fill it with solid Black. (We need to fill the window before we do anything, because you can't create pixels in a Channel; all you can do is change the value of pixels that are already there. You can't paint in the channel where you see the checkerboard.)
You'll notice that both windows fill at the same time. We are, after all, looking at two views of the same image, and at the moment, those views are identical.
But we're about to change that.
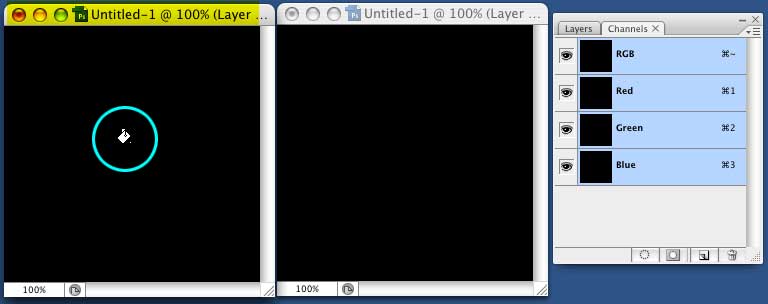
Click on the window on the right, go to the Channels Palette, and click right on the word "Red", in the Red channel. You'll notice that the other channels no longer have eyeballs next to them, and are no longer Selected (no blue highlight.) We are now looking at just the Red channel in the window on the right, and at all the channels in the window on the left.

Click X, to swap the Foreground and Background colors, so you'll be painting in white, and grab the brush tool.
Now, draw a squiggle in the window on the Right. Don't be afraid; this is just an experimental piece, and you can't do it "wrong." Squiggle any kind of mark you want. As soon as you lift the brush, and the other window refreshes, you'll see your mark. But it's Red!

When you paint with white, on this channel, you're really painting with Red:255. If you check in a color picker, you'll find that pure red is Red:255, Green:0, Blue:0. There is nothing in the other two channels, so what you see is pure red. (Run your mouse over the images, to see the values.)
Click here to go to the next page, and we'll explore this farther.
If you would like to see the other tutorials in this series, click here.
Everything on this site is copyright © Robin Wood; all rights reserved. Feel free to link to these pages, print them out for yourself, and use them yourself to create content for Second Life without restrictions. However, you may not distribute them in any way, (post them on your site, put them on a CD, use printed copies as handouts in a class, make books out of them to sell in SL, etc.) without permission. To get permission, write to Robin, and explain what you intend to use it for.