LightWave UV Mapping for UVMapper Users

The UV mapping tools in LightWave are simple to use, and there are a number of advantages to using them, if you are using LightWave to build your models. However, if you are used to using UVMapper Classic (the free version) it's tempting to continue using the tool that you are accustomed to, especially if you don't have any idea how to use the built-in tools!

If that sounds familiar, this series of tutorials was written with you in mind. They are for the person who already knows about UV Mapping, and has been using UV Mapper long enough to be familiar with it, but who would like to switch to the more convenient (and powerful) set of tools included with Lightwave 7.5.

If you aren't familiar with UV Mapper, of course, you can still use these tutorials; just skip all the "this LW thing does what this UVMapper thing does" parts!

There are 5 lessons in this set. I highly recommend that you at least read through all of them, in order, since I don't repeat everything. By Lesson 5, we are not only building on things that were covered in the previous 4 lessons, but we've left UVMapper Classic far behind.

All required models and images are provided.

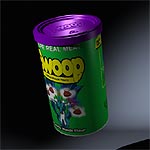
Lesson 1; applying a UV Map to this Swoop Can.

Lesson 1

This lesson covers the basics; how to begin a New UV Map, how to apply UV Maps to models, and how to use the basic mapping tools to make planar and cylindrical maps. Also covered; how to watch the map being applied to the model while mapping, and the advantages of using the built in Lightwave tools.

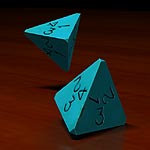
Lesson 2; applying a UV Map to a four sided die.

Lesson 2

This lesson covers manipulating the vertices on the map, and how to make an endomorph so you can manipulate your model for ease of mapping without any risk of harming it.

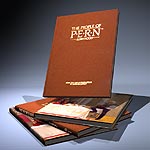
Lesson 3; applying a UV Map to a book and book jacket.

Lesson 3

This lesson goes into more depth with model manipulation, as we unfold a book jacket to map it to a scan of the real thing. We also start to look at how to solve stretching problems, how to set up a model to use more than one map, and how to combine two separate maps into one.

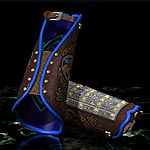
Lesson 4; applying a UV Map to a vambrace.

Lesson 4

This lesson goes into much more depth concerning manipulating a model using an endomorph, and introduces the concept of making shapes that are irregular on the model into regular map shapes for ease of painting. Also mentions dragging points on the map to fix stretching problems.

(This model is the same one used in the UV Mapper Tutorial. Comparing the two tutorials gives an excellent insight into the similarities and differences of working in the two programs.)

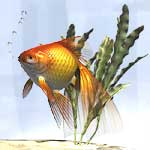
Lesson 5; applying a UV Map to a goldfish.

Lesson 5

This lesson covers how to make a map from scratch, when you don't have any kind of color map or template to follow, by using a checkerboard pattern to ensure that nothing is stretched. More emphasis on dragging points and making a map that is simple to paint. (We change the size of the polys on the map, so we can paint all the scales the same size on the model.)

LightWave 3D and LightWave 3D 7.5 are registered trademarks of NewTek. UVMapper Classic is a wonderful freeware program written by Steve Cox.

If this page has come loose from the frame it's supposed to be in, or is in someone else's frame, just click here, then choose UV Mapping from the list on the left.

If you have a question, write to me and ask it!

Everything on this site is copyright © Robin Wood; all rights reserved. Please do not use anything without permission. To get permission, write to Robin, and explain what you intend to use it for.